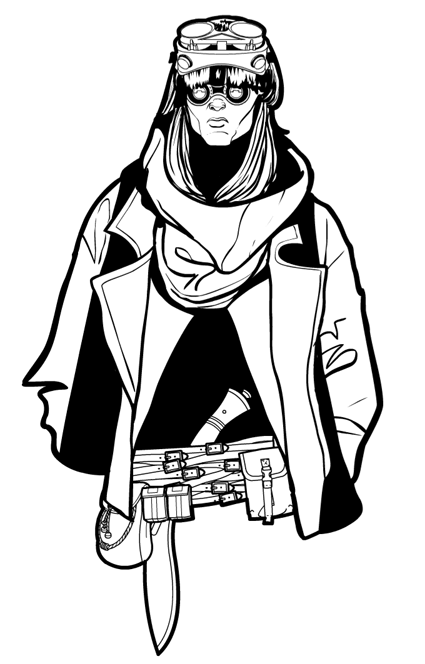
Another how-I-did-it video that ended up with the following sketch:

And here's the video. Note that I ended it before doing a number of things like changing up the glasses, adding a new set of goggles to the forehead, changing the nose, and adding black, which probably took about ten to twenty additional minutes. So from start to finish, this took about half an hour.
I went out and bought a microphone to do a voice-over on this one, as there are a number of points that might be illustrative for other aspiring artists out there, only to discover that the audio-in port on my Mac Pro does not work. Feh. I also am still trying to figure out how to compress the playback time so you can watch these in half the time, but no luck there so far.
One advantage to using Flash for all my illustrations is that at this point, I have a massive library of vector art items to use, as you can see from both goggles and all the various belt bits. A lot of the selecting and grouping and filling with white you see in the video is a way to layer groups of vector objects so I can put one on top of another, making the whole thing look like one drawing.
The belt, for example, is below the flaps of the coat, but over the black shirt. I was able to do this by grouping together all the belt objects, then grouping together the body. I put the belt group object below the body (without the black fill). I then ungrouped the belt objects so they were all one big thing, then I degrouped the body object that was on top of it. The white fill of the body overwrote the belt items, basically erasing them. I could then fill the empty shirt area with black to set off the cool knife.
Tracing reference photos only gets you so far. You have to know what's going on in the bits of the photo that are cropped (the sleeves in this case), and you have to know where you want to introduce changes to get the look you want. Here I needed to make the long scarf ends black to frame the illustration better, and of course add all the post-apocalyptic bits.

